-
- Advertisement
M(H)GF WC Longbridge Roadster
Re: M(H)GF WC Longbridge Roadster
![]() by tone_depear » Sun Sep 08, 2013 11:21 pm
by tone_depear » Sun Sep 08, 2013 11:21 pm
or D: C + stick it all on ebay as "untested". 


-

tone_depear - ORIG. MGF fancier
- Posts: 237
- Joined: Thu May 03, 2012 11:19 pm
- Location: Sheffield
Re: M(H)GF WC Longbridge Roadster
![]() by Ozzy Mandeus » Thu Sep 12, 2013 8:07 pm
by Ozzy Mandeus » Thu Sep 12, 2013 8:07 pm
Epic photo filled update!
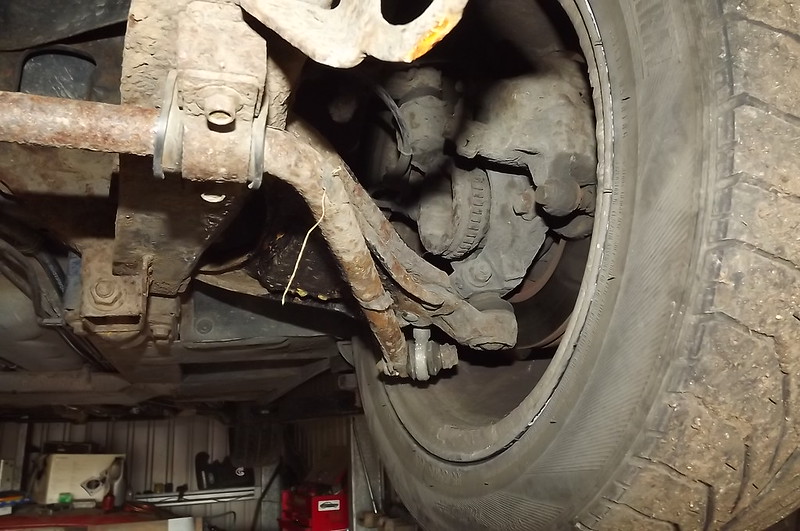
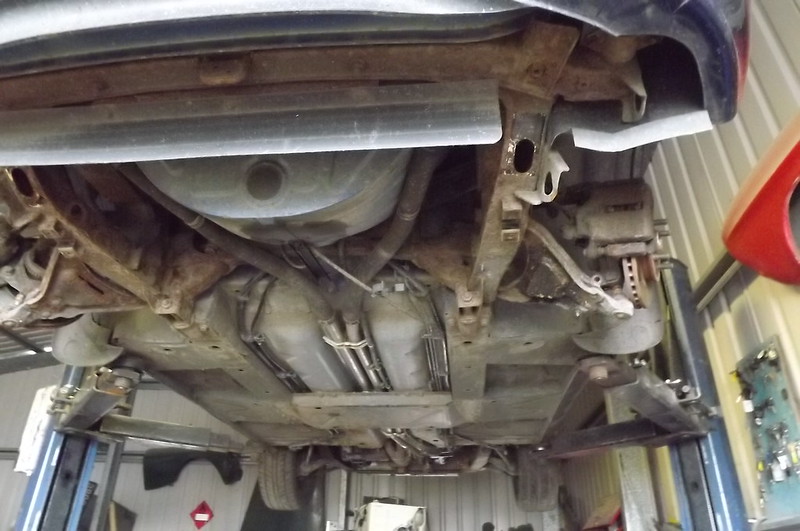
DSCF0646 by scaryoldcortina, on Flickr
Hmm, doesn't look rusty or knackered at all, and I'm sure nothing is going to be siezed or snap clean off while I'm removing that subframe....
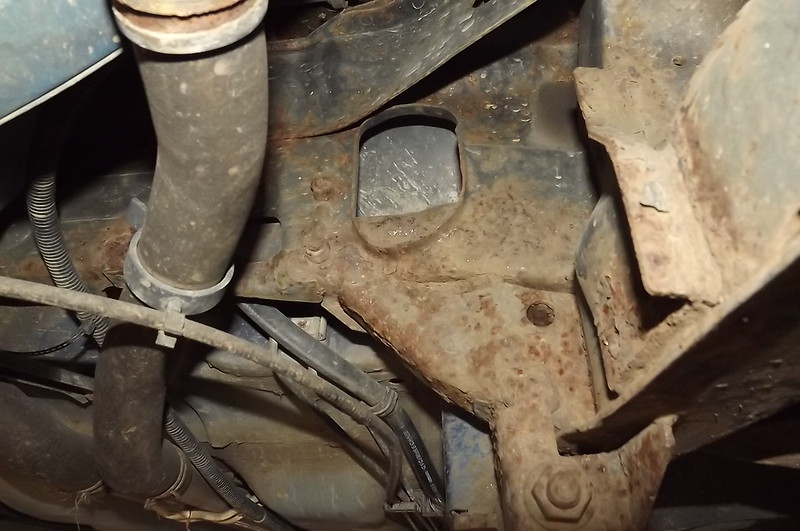
DSCF0647 by scaryoldcortina, on Flickr
Oh, and the steering rack is attached to the subframe! Good job the bolts holding that on aren't horrible looking and rusty either.
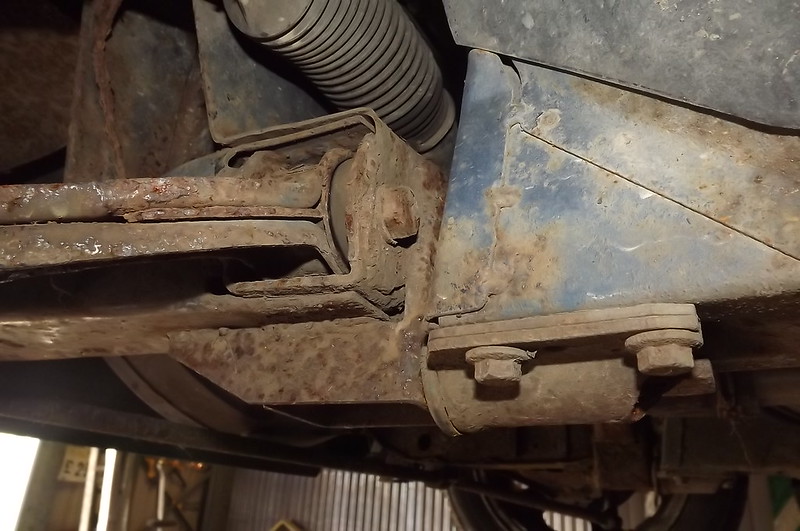
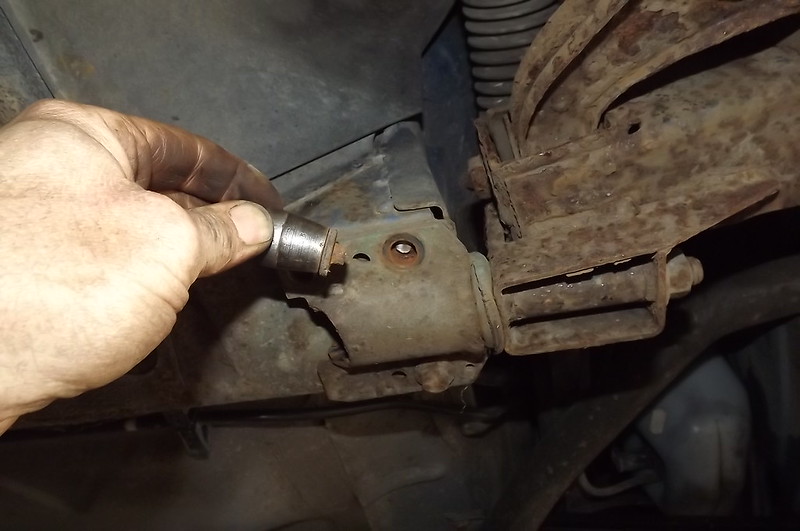
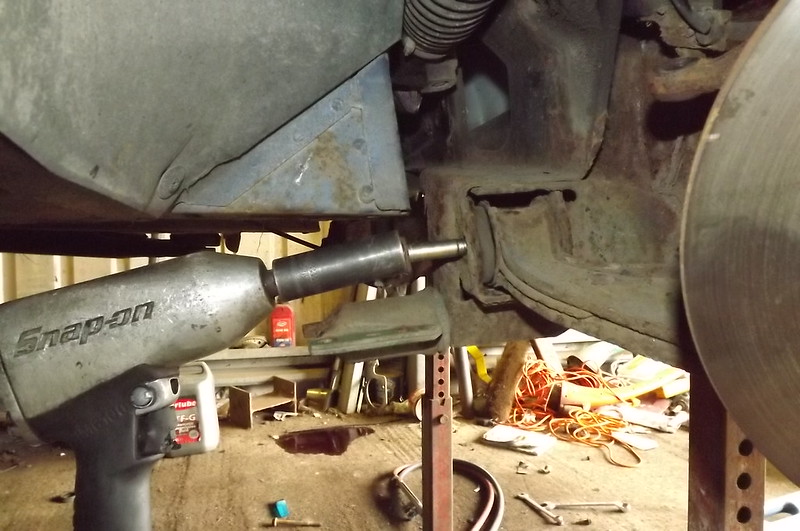
DSCF0648 by scaryoldcortina, on Flickr
Subframe needs to drop down because this bolt won't withdraw as the shell of the car is in the way. Clever* design by MGR there.
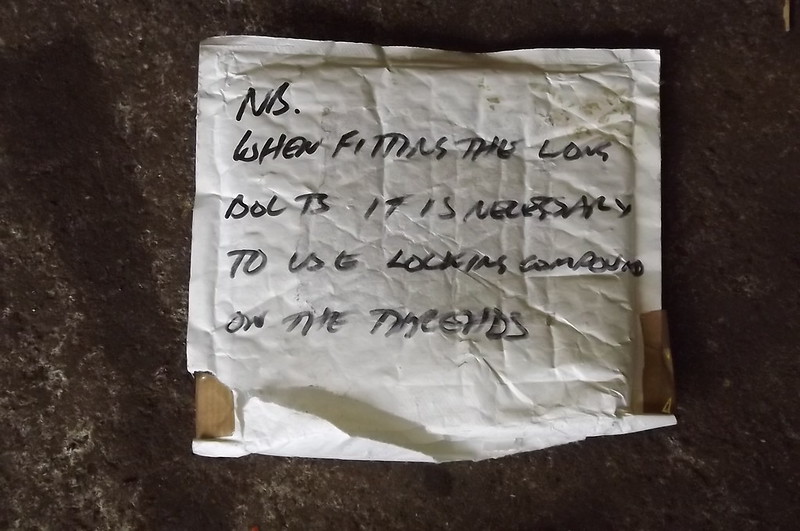
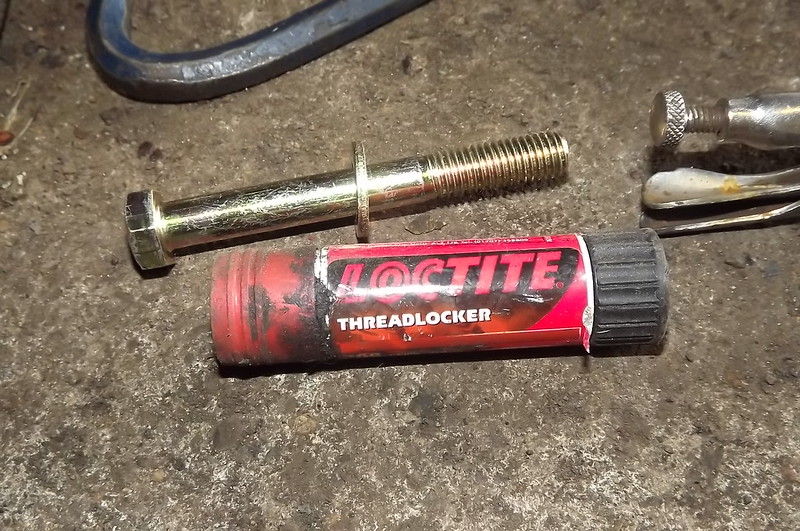
DSCF0649 by scaryoldcortina, on Flickr
Interesting note on the bag the new arm bolts came in. Presumably having to remove most of the front end to get them in doesn't mean they are secure enough to stay put without threadlock.

DSCF0650 by scaryoldcortina, on Flickr
Clean and shiny new* bits. On an average normal car, it takes about an hour to fit some of these. On a citroen picasso or similar it might take a couple of hours because of their interesting ARB placement. On this? I'll let you know.
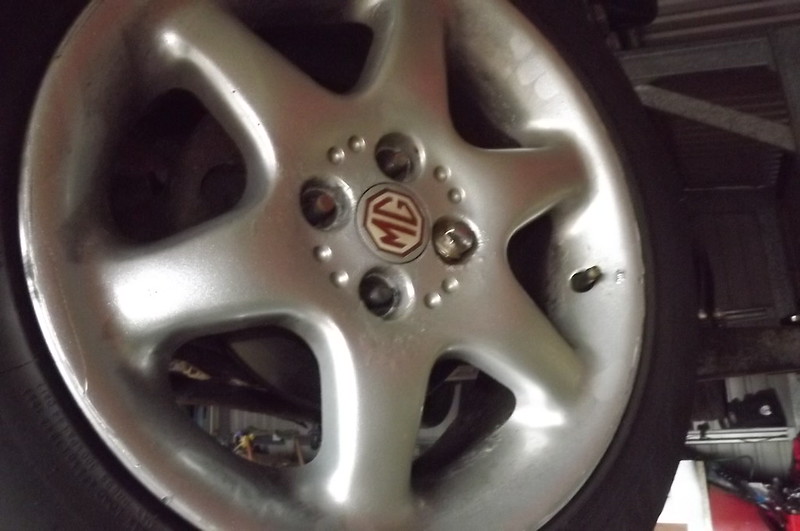
DSCF0651 by scaryoldcortina, on Flickr
Wheels off first. This won't take long, Tone said he already took these off once. Impact wrench once again failed to loosen the nuts. Large bar came into play...seven of the wheelnuts gave in to extreme force, The eighth one mangled its chrome cap instead...
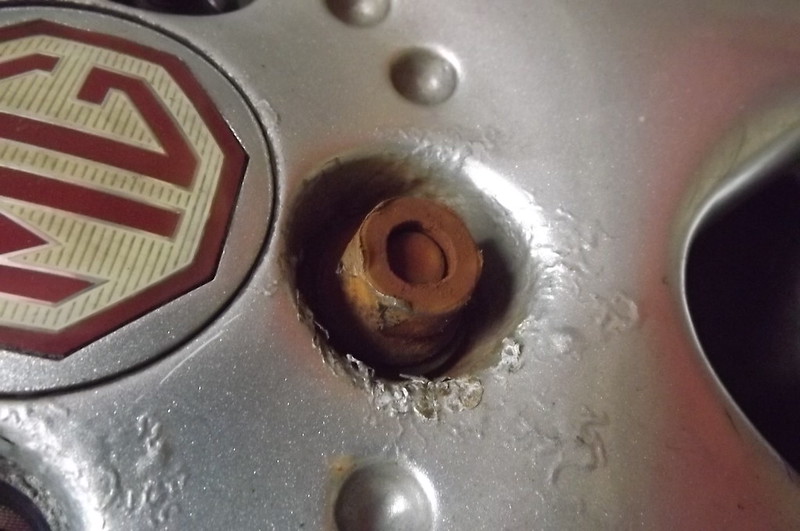
DSCF0652 by scaryoldcortina, on Flickr
and the nut underneath had no corners. What did I do? Wait for it......
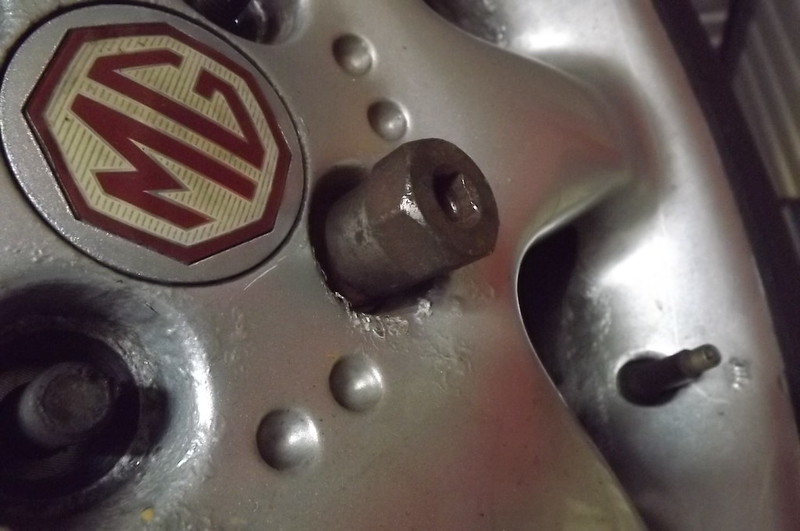
DSCF0653 by scaryoldcortina, on Flickr
Yeah. Then I had to use a hammer to separate the wheel from the hub. So that's about half an hour gone already.
DSCF0654 by scaryoldcortina, on Flickr
Front arm mounting bolt is accessed through the holes in the front of the subframe - these are covered up with gaffa tape to prevent the subframe filling up with muck and rotting away.

DSCF0655 by scaryoldcortina, on Flickr
Steering rack bolts - very tight, very thin and with dodgy looking heads. Also not easily obtained because it's a horseshoe clamp rather than a nut and bolt... Gas time! Steering rack disconnected from subframe. One of the track rod ends broke though, the nut and threaded section sheared off instead of undoing. Never mind, I can get them...
DSCF0657 by scaryoldcortina, on Flickr
Subframe to floor bolts. I was being very gentle, and trying not to snap any of them off in the captive. As you can see, that worked well*.
DSCF0658 by scaryoldcortina, on Flickr
REALLY well. That's the other side of the car....
DSCF0659 by scaryoldcortina, on Flickr
This is what I like to call a 33% successful job. Bugger and damnation.
DSCF0660 by scaryoldcortina, on Flickr
Taking no prisoners now, the shock absorber bottom bolt didn't want to undo.
DSCF0662 by scaryoldcortina, on Flickr
Another awkward one to replace, but it will need a new nyloc nut now.
DSCF0663 by scaryoldcortina, on Flickr
Other side tried the same trick!
DSCF0665 by scaryoldcortina, on Flickr
KILL IT WITH FIRE
DSCF0666 by scaryoldcortina, on Flickr
Ah, at last! Actually, it's not QUITE there. There was a bracket between the floor and the spare wheel well still holding it up.
DSCF0667 by scaryoldcortina, on Flickr
Yay! WOOOHOOO! Etc. Temporarily ignoring the fact that I can't actually put the subframe back because of the snapped bolts but it felt GOOD when that undid.
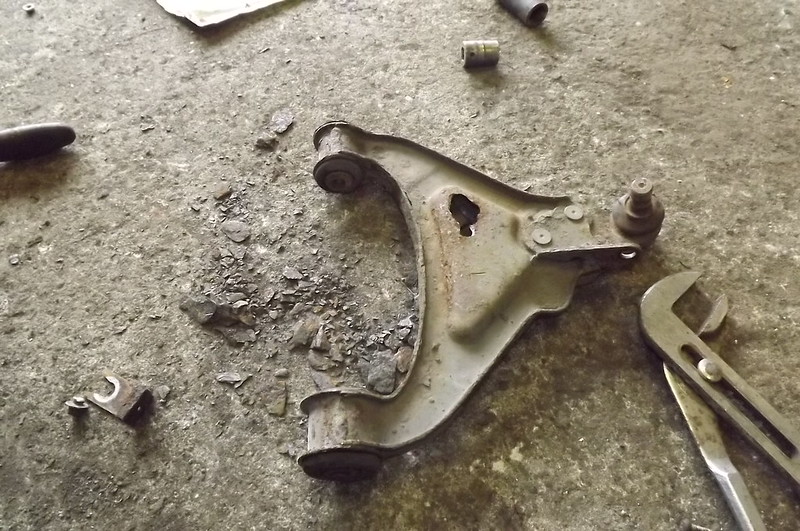
DSCF0668 by scaryoldcortina, on Flickr
The old arm hit the floor, and bits of it fell off. This is the one the MoT man thought was safe.
DSCF0669 by scaryoldcortina, on Flickr
New bolt? CHECK! Locktite? CHECK! Four hands to fit the new arm? NOT CHECK!
One to hold the hub out of the way, one to hammer the arm into the subframe (damn bushes), one to manouver said arm while hammering and one to fit the bolt once it's lined up. BAH. Decided to tackle snapped bolt studs with moar HEAT.
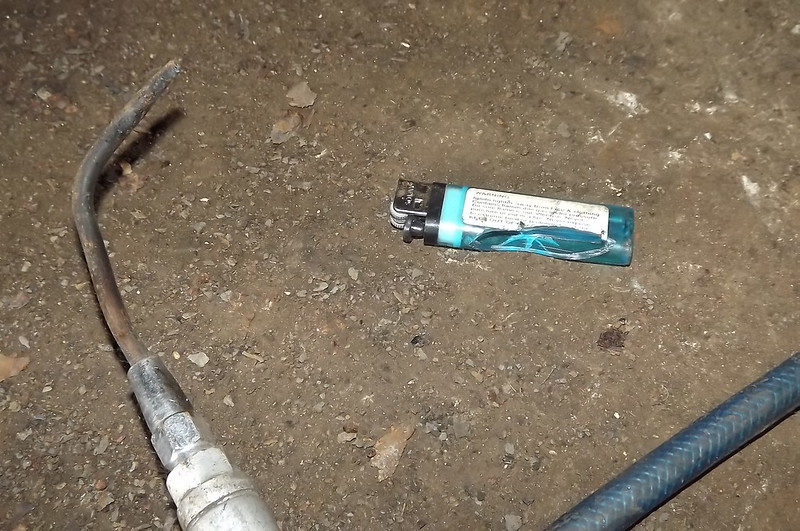
DSCF0670 by scaryoldcortina, on Flickr
Huh. Something landed on the lighter. Ah well, it's "is that the time?" time anyway. Cars away, lock up, go home, BATH.
Hopefully tomorrow will bring more fixing and less breaking stuff.
DSCF0646 by scaryoldcortina, on Flickr
Hmm, doesn't look rusty or knackered at all, and I'm sure nothing is going to be siezed or snap clean off while I'm removing that subframe....
DSCF0647 by scaryoldcortina, on Flickr
Oh, and the steering rack is attached to the subframe! Good job the bolts holding that on aren't horrible looking and rusty either.
DSCF0648 by scaryoldcortina, on Flickr
Subframe needs to drop down because this bolt won't withdraw as the shell of the car is in the way. Clever* design by MGR there.
DSCF0649 by scaryoldcortina, on Flickr
Interesting note on the bag the new arm bolts came in. Presumably having to remove most of the front end to get them in doesn't mean they are secure enough to stay put without threadlock.
DSCF0650 by scaryoldcortina, on Flickr
Clean and shiny new* bits. On an average normal car, it takes about an hour to fit some of these. On a citroen picasso or similar it might take a couple of hours because of their interesting ARB placement. On this? I'll let you know.
DSCF0651 by scaryoldcortina, on Flickr
Wheels off first. This won't take long, Tone said he already took these off once. Impact wrench once again failed to loosen the nuts. Large bar came into play...seven of the wheelnuts gave in to extreme force, The eighth one mangled its chrome cap instead...
DSCF0652 by scaryoldcortina, on Flickr
and the nut underneath had no corners. What did I do? Wait for it......
DSCF0653 by scaryoldcortina, on Flickr
Yeah. Then I had to use a hammer to separate the wheel from the hub. So that's about half an hour gone already.
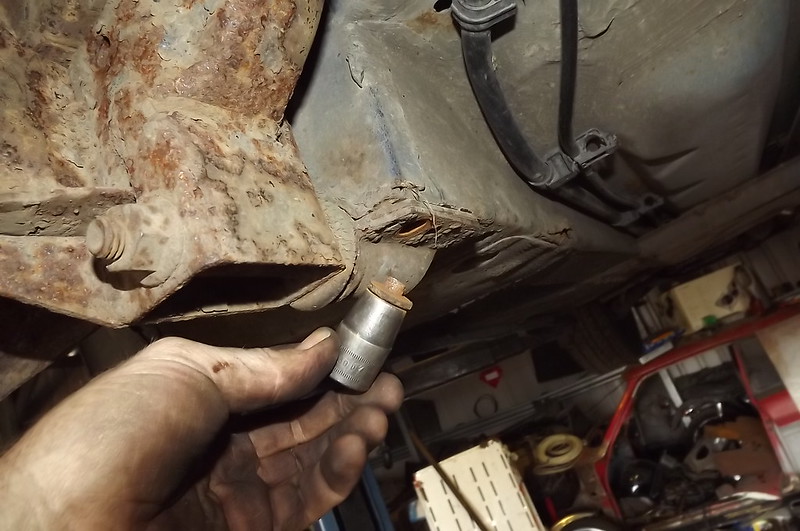
DSCF0654 by scaryoldcortina, on Flickr
Front arm mounting bolt is accessed through the holes in the front of the subframe - these are covered up with gaffa tape to prevent the subframe filling up with muck and rotting away.
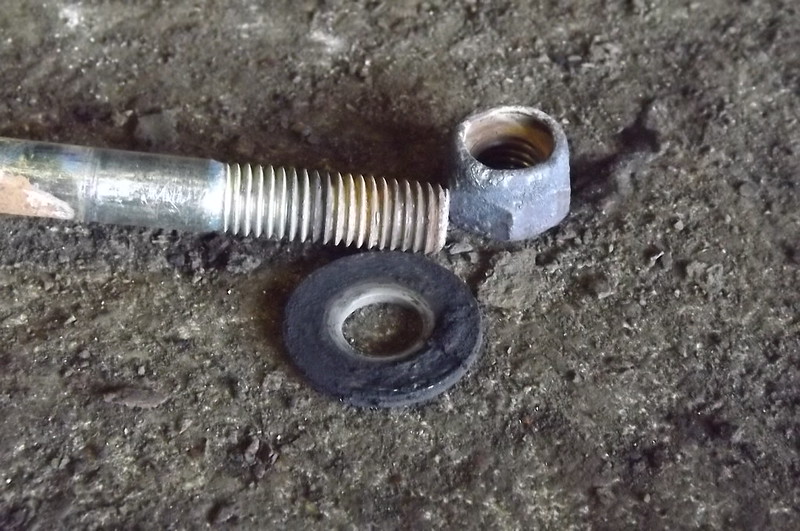
DSCF0655 by scaryoldcortina, on Flickr
Steering rack bolts - very tight, very thin and with dodgy looking heads. Also not easily obtained because it's a horseshoe clamp rather than a nut and bolt... Gas time! Steering rack disconnected from subframe. One of the track rod ends broke though, the nut and threaded section sheared off instead of undoing. Never mind, I can get them...
DSCF0657 by scaryoldcortina, on Flickr
Subframe to floor bolts. I was being very gentle, and trying not to snap any of them off in the captive. As you can see, that worked well*.
DSCF0658 by scaryoldcortina, on Flickr
REALLY well. That's the other side of the car....
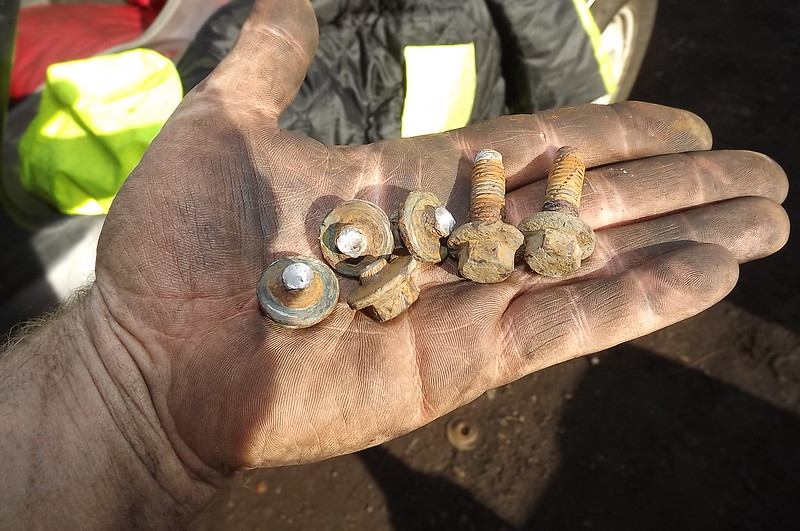
DSCF0659 by scaryoldcortina, on Flickr
This is what I like to call a 33% successful job. Bugger and damnation.
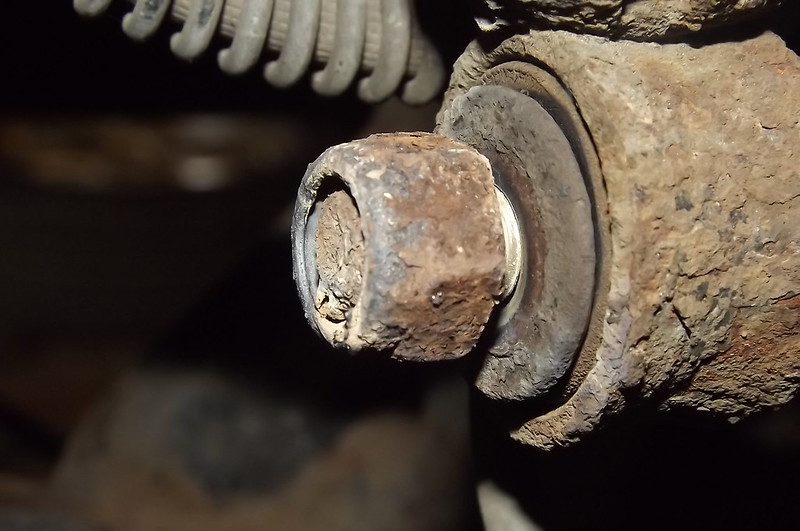
DSCF0660 by scaryoldcortina, on Flickr
Taking no prisoners now, the shock absorber bottom bolt didn't want to undo.
DSCF0662 by scaryoldcortina, on Flickr
Another awkward one to replace, but it will need a new nyloc nut now.
DSCF0663 by scaryoldcortina, on Flickr
Other side tried the same trick!
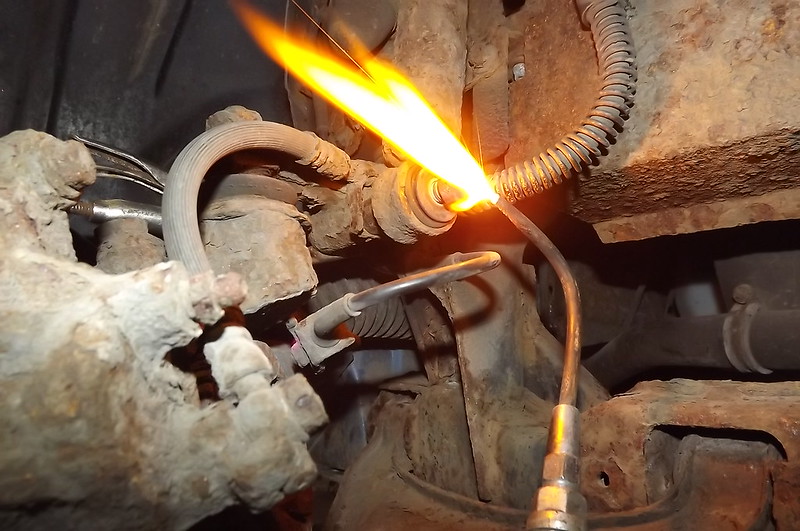
DSCF0665 by scaryoldcortina, on Flickr
KILL IT WITH FIRE
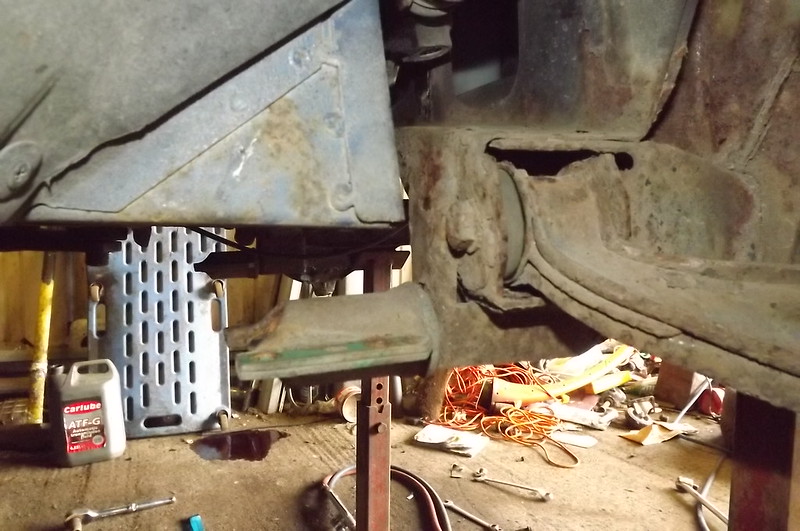
DSCF0666 by scaryoldcortina, on Flickr
Ah, at last! Actually, it's not QUITE there. There was a bracket between the floor and the spare wheel well still holding it up.
DSCF0667 by scaryoldcortina, on Flickr
Yay! WOOOHOOO! Etc. Temporarily ignoring the fact that I can't actually put the subframe back because of the snapped bolts but it felt GOOD when that undid.
DSCF0668 by scaryoldcortina, on Flickr
The old arm hit the floor, and bits of it fell off. This is the one the MoT man thought was safe.
DSCF0669 by scaryoldcortina, on Flickr
New bolt? CHECK! Locktite? CHECK! Four hands to fit the new arm? NOT CHECK!
One to hold the hub out of the way, one to hammer the arm into the subframe (damn bushes), one to manouver said arm while hammering and one to fit the bolt once it's lined up. BAH. Decided to tackle snapped bolt studs with moar HEAT.
DSCF0670 by scaryoldcortina, on Flickr
Huh. Something landed on the lighter. Ah well, it's "is that the time?" time anyway. Cars away, lock up, go home, BATH.
Hopefully tomorrow will bring more fixing and less breaking stuff.
- Ozzy Mandeus
- IAN McSHANE
- Posts: 145
- Joined: Sun May 13, 2012 11:49 am
Advertisement
-
tone_depear - ORIG. MGF fancier
- Posts: 237
- Joined: Thu May 03, 2012 11:19 pm
- Location: Sheffield
Advertisement
Re: M(H)GF WC Longbridge Roadster
![]() by tone_depear » Thu Sep 12, 2013 10:31 pm
by tone_depear » Thu Sep 12, 2013 10:31 pm
*please don't actually scrap it.
yet
yet
-
tone_depear - ORIG. MGF fancier
- Posts: 237
- Joined: Thu May 03, 2012 11:19 pm
- Location: Sheffield
Advertisement
Re: M(H)GF WC Longbridge Roadster
![]() by Ozzy Mandeus » Thu Sep 12, 2013 10:57 pm
by Ozzy Mandeus » Thu Sep 12, 2013 10:57 pm
tone_depear wrote:*please don't actually scrap it.
yet
I can't anyway, you have the logbook.
Don't worry, it will all work out! It isn't the first time this has happened - order of business for tomorrow is as follows. (you can assume that if any step works, the rest are not done)
1 - heat the remains of the bolt and use molegrips
2 - drill down bolt and use an easyout (and more heat)
3 - Swear a lot, then cut the car open with a grinder to access the captive nut inside the chassis - chisel it off.
4 - Weld in new captive nut, weld up hole in car.
It's mondeo clutch change all over again!
- Ozzy Mandeus
- IAN McSHANE
- Posts: 145
- Joined: Sun May 13, 2012 11:49 am
Advertisement
Re: M(H)GF WC Longbridge Roadster
![]() by tone_depear » Thu Sep 12, 2013 11:23 pm
by tone_depear » Thu Sep 12, 2013 11:23 pm
Ozzy Mandeus wrote:It's mondeo clutch change all over again!
-
tone_depear - ORIG. MGF fancier
- Posts: 237
- Joined: Thu May 03, 2012 11:19 pm
- Location: Sheffield
Advertisement
Re: M(H)GF WC Longbridge Roadster
![]() by Ozzy Mandeus » Thu Sep 12, 2013 11:27 pm
by Ozzy Mandeus » Thu Sep 12, 2013 11:27 pm
That's the other time you really, really don't want the subframe bolts to shear off in the captive nuts, but they do anyway. Hence the reason no-one wants to do one.
- Ozzy Mandeus
- IAN McSHANE
- Posts: 145
- Joined: Sun May 13, 2012 11:49 am
Advertisement
Re: M(H)GF WC Longbridge Roadster
![]() by tone_depear » Thu Sep 12, 2013 11:37 pm
by tone_depear » Thu Sep 12, 2013 11:37 pm
Have we* established if the engine's fucked yet?
-
tone_depear - ORIG. MGF fancier
- Posts: 237
- Joined: Thu May 03, 2012 11:19 pm
- Location: Sheffield
Advertisement
Re: M(H)GF WC Longbridge Roadster
![]() by Ozzy Mandeus » Thu Sep 12, 2013 11:49 pm
by Ozzy Mandeus » Thu Sep 12, 2013 11:49 pm
It starts and runs, and doesn't throw its coolant out. It's probably* fine.
tbh, not even got round to checking the oil. Don't worry about it, I'm not.
tbh, not even got round to checking the oil. Don't worry about it, I'm not.
- Ozzy Mandeus
- IAN McSHANE
- Posts: 145
- Joined: Sun May 13, 2012 11:49 am
Advertisement
-
tone_depear - ORIG. MGF fancier
- Posts: 237
- Joined: Thu May 03, 2012 11:19 pm
- Location: Sheffield
Advertisement
Who is online
Users browsing this forum: No registered users and 4 guests